Have you ever wondered how professional designers magically remove imperfections from their photos or create a surreal platform that seems straight out of a dream? The answer lies within a powerful tool called the clone stamp in adobe Photoshop. With just a few clicks, you can effortlessly retouch images, remove unwanted elements, and even duplicate objects flawlessly. So, are you ready to unlock the secrets of the clone stamp and take your photo editing skills to the next level? Let’s dive in!
Understanding The Clone Stamp

The clone stamp is like a magical brush that allows you to seamlessly sample pixels from one image and apply them to another area. It’s perfect for removing blemishes, enhancing textures, or even recreating missing parts of an image. By mastering this tool, you will have the power to make your visuals truly captivating.
Step 1: Selecting The Clone Stamp Tool
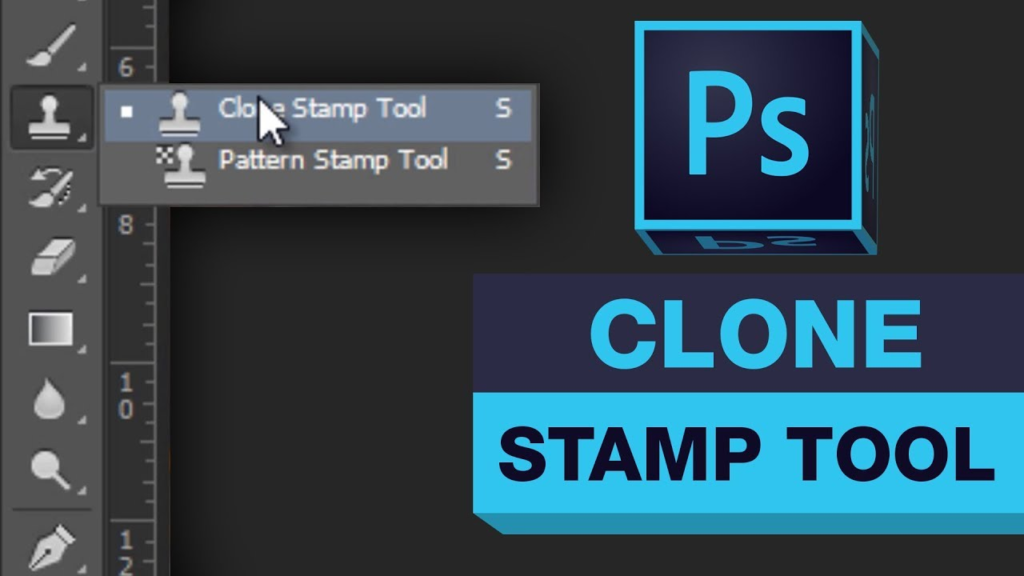
To get started, open Photoshop and select the clone stamp tool from the toolbar on the left side of the screen. Alternatively, you can use the keyboard shortcut “S” to activate the tool instantly.
Also Read: How Many Times Have You Snapchat?
Step 2: Adjusting Brush Settings
Before you start cloning, it’s important to customize the brush settings to achieve the desired effectiveness. Use the brush preset selector at the top toolbar to adjust the brush size, hardness, and opacity. A smaller brush size works well for precise details, while a larger one covers more significant areas.
Step 3: Setting The Sample Point
The simple point determines which part of the images you will clone from. Hold the Alt (Windows) or Option (Mac) key to set the sample point and click on the area you want to clone from. This action defines the source pixels for your brush.
Step 4: Cloning Away
Now that you have set the sample point, it’s time to start cloning! Simply move your brush over the area you want to cover or retouch and click. Photoshop will clone the pixels from the sample point onto the selected area. Repeat this process to achieve the desired result. You can release the Alt or Option key to select new sample points.
Step 5: Undo and Refine
Oops! Made a mistake? No worries! Press Ctrl+Z (Windows) or Command + Z (Mac) to undo your last action. You can also use the history panel to navigate through previous states of your documents and refine your cloning if needed.
Conclusion
Congratulations! You have taken your first steps into the exciting world of the clone stamp tool in Photoshop. Using its power, you can now effortlessly retouch photos, remove distractions, and create stunning visual compositions. Remember, practice makes perfect, so don’t be afraid to experiment and explore the endless possibilities. Happy cloning!


