Do you have a CA 920 camera that you are unable to operate? Are your old recordings collecting dust because you can’t get the camera to play them? It can be very annoying. However, don’t worry—help is at hand! This article will walk you through the process of playing tape in your CA 920 camera so that you’ll be able to capture the priceless moments and relive them with loved ones.
Let’s get started!
A Brief Overview of the CA 920 Camera
The CA 920 is a vintage camera. It is well-known for its tape-based recording setup. It provides a distinctive analog experience and artistically records moments. You can navigate the tape playback process more easily if you are aware of the features, functions, and capabilities of the CA 920 camera.
Essential Equipment and Preparations
You’ll need a few key essentials to play a tape in your CA 920 camera.
- Ensure you have a battery that is completely charged or a dependable power supply.
- Make sure you have the proper tapes, such as VHS-C or Hi8, that are compatible with your camera.
- Clean the tape heads.
- Check the camera for any damage.
Getting Started: How to Play Tape in CA 920 Camera
Prepare Essential Equipment
You need to gather and prepare essential equipment to start recording with your CA 920 camera. First, you’ll need a camera. Make sure you choose a camera or webcam that suits your demands and budget from the many kinds on the market today, which range from inexpensive, basic models to more expensive ones with better audio and video, like the Canon Rebel T6i or the Logitech 1080p webcam. Additionally, you’ll need a laptop or computer with Windows installed, some software for editing recordings, and a way to watch and transfer cassettes.
Camera
Make sure your CA 920 Camera is configured correctly before beginning to record. You’ll need to have the following in order to do so:
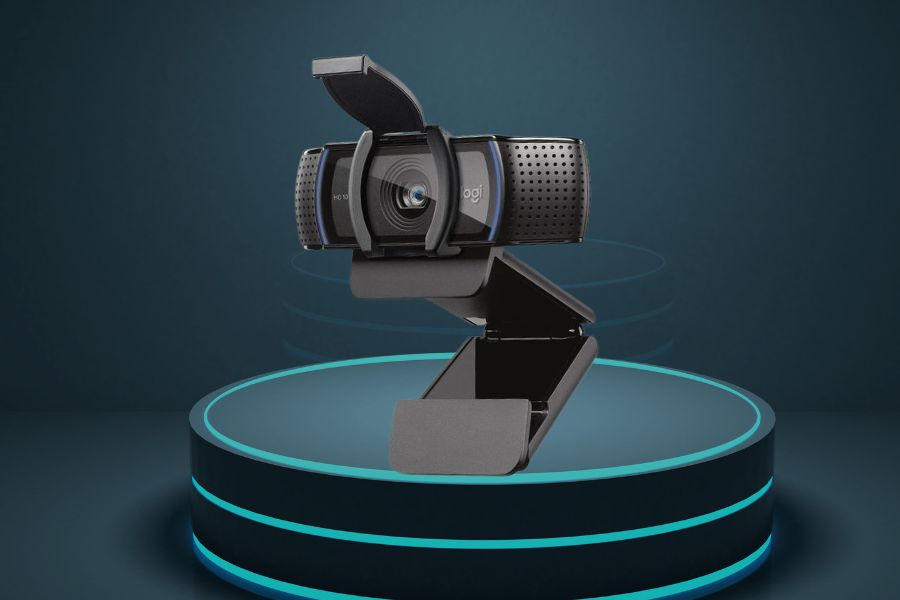
- A standard webcam or video cam for playback (such as the Canon VIXIA HF R800 or the Logitech HD Pro Webcam C920)
- Computer or laptop with Windows 10
- Audio and video file transmission and editing software
The majority of cameras include a USB connector, making it simple to connect to your laptop or desktop computer. Once your webcam is connected, go to Windows’ “Settings” menu and choose “Devices.” Depending on your model, you can alter the color settings, microphone input levels, recording quality (1920x1080p is the standard), and other parameters here. You can also use an external hard disc or flash drive if you are already using one. It simply has to have enough free capacity to record any videos or pictures you intend to take with your CA 920 Camera.
Tape
First, you need to load a tape into your camera. To do so, place the tape in the camera’s cassette slot and then hit the “Play” button. The cassettes used, such as VHS-C or 8mm tapes, must meet specific requirements in order to be compatible with this brand of camera. However, some individuals discover that their laptop computers or external webcams have extra features that enable them to use video recordings of a higher quality than what is generally found on conventional tapes.
There are other products like Logitech’s 1080p Webcam and Canon’s selection of camcorders that provide an excellent picture and audio quality at a reasonable price for those seeking even more options in terms of quality and affordability. Additionally, a lot of individuals download video from their cameras or webcams to their computer discs using applications like Windows Movie Maker or OBS Studio for simpler watching and editing before sharing it online.
Load the Tape
Unlock the tape compartment: Locate the tape compartment on your CA 920 camera, then unlock it. To open the compartment, most versions have a latch or release mechanism. To open the compartment door, gently move the latch or press it.
Prepare the Tape: Take the tape out from its protective casing and examine for tangles and damage. Use a compatible tape player to carefully rewind the tape if it is twisted or loose. Before continuing, make sure the tape is in good condition and has been properly rewound.
Insert the Tape into the Camera: Open the tape compartment and place the tape in it. Make sure the tape fits perfectly inside the compartment. Listen for a click or snap as you close the compartment door to be sure it is secure.
Get ready to record
Now it’s time to get your CA 920 camera ready for recording. This camera makes use of a common color video tape, which is available at most electronics stores. You might need to buy a compatible cable if you own a Logitech webcam or another webcam model in order to transfer the footage from your camera to your computer. Choose models with 1080p recording and playback capabilities if you like higher-quality recordings.
Verify all of your settings are accurate before pressing the record button. Before beginning to record, make sure that the camera and laptop are properly configured. You can adjust settings like audio quality and color balance by pressing the Windows button on your laptop while using specialized software. But you are required to use the built-in cameras or webcams on macOS devices for adjustments like brightness and contrast adjustment rather than an external microphone or sound card driver because there is no dedicated software available for these settings.
In order to safely save and keep your recordings without worrying about losing them when you are finished recording, remember to double-check that the memory drive (or any additional removable storage device) is connected properly.
Set the Camera
You must set up your CA 920 camera and ensure that everything is calibrated properly before you can begin recording with it. Firstly, use a USB cord to connect the camera to your PC or laptop. For improved audio quality, you might also want to attach an additional microphone.
Once you’re done, open your video playback program (such as Windows Media Player) and click the “Settings” button. You may change several settings from there, including color balance, resolution (standard vs. 1080p), and webcam model (if needed). It is advised that you download and install the relevant software if you own a Logitech webcam to get the maximum performance out of your camera.
It’s crucial to remember that individuals frequently use webcams rather than dedicated cameras like the CA 920 type because they’re less expensive. However, webcams don’t always provide the same degree of quality as dedicated cameras, while being less expensive. But if money is a concern, think about obtaining a decent webcam rather than a more expensive specialized camera—just keep in mind that in the end, it’s all about personal choice.
Set the Recording Mode
It’s time to set the recording mode as your camera and tape are prepared. The settings for video quality and audio quality on your CA 920 camera may vary depending on the model. For instance, certain models come with higher-quality microphones and 1080p resolution for crystal clear audio and video playback. To acquire the finest image quality from your recordings, you can also change the settings for the frame rate, color balance, and white balance.
By hitting the “Settings” button on your camera or, if you’re using a webcam, by clicking on it from within Windows, you can access the settings menu to begin configuring your recording mode. When in the Settings menu, choose “Video” from the tabs, then click “Record Settings.” Here, you can choose the resolution (720p/1080p) and file type (standard or high definition) that best suit your requirements. Additionally, be sure to tick the dedicated option if you’re utilizing an external microphone with your CA 920 cameras, such as a Logitech Webcam microphone or any other common brand laptop microphone, for sound to be captured alongside video during playback. After completing all the necessary adjustments, click Save to finish configuring your CA 920 Camera’s recording mode.
Start the recording
It’s time to start recording now that everything is set up and prepared. Using the default video settings on your CA 920 camera, you can record in 1080p quality. However, the resolution may differ depending on the model if you’re using a webcam or a laptop with built-in cameras. Additionally, ensure that your computer has sufficient storage so that you can save your recordings.
After making sure that everything is in order, click the “Record” button on the camera or webcam. This might appear as a play/pause button or a camcorder-like symbol, depending on the make and type of your webcam or laptop. When recording is active, a small orange light will appear at the top of your screen if you are using Logitech webcams.
Before starting to record, check to see that your external microphone is correctly attached if you plan to record both audio and video with it. If necessary, you can also change the mic levels in your sound settings before beginning.
Once everything is configured properly and has been verified, begin recording!
Stop recording
On the CA 920 Camera, press the Stop button on the side of the device to halt recording. A notification stating that your video has been saved to your computer’s hard disc will appear once you click this button. Then, using whatever software or hardware is available, you can move it to any other device or platform of your choice.
There is no doubt that the CA 920 camera provides excellent value for its price when it comes to recording quality. It records at standard 1080p resolution in color and uses built-in microphones to record audio. Some people may feel that their laptop webcams are more suited for recording movies in specific situations due to their smaller size and lower price range. But they won’t be able to match the quality provided by the CA 920 model. Even better quality is available with Logitech cameras, but you’ll probably have to shell out more money for them.
Unload the Tape
Now it’s time to unload the tape from your CA 920 camera when you have completed shooting your video. Start by switching off the power and waiting a short while for the heads to stop securely. After that, carefully take the tape out of the camera and put it in a secure location.
Some types of CA 920 cameras have USB ports that enable you to connect them directly to a PC or Mac computer without the need for any additional software or hardware if you wish to transfer your tapes to a computer or laptop for playback. But if your device doesn’t have this feature, you will need a suitable audio/video (A/V) cable and compatible playback software, such as Windows Media Player or Logitech Webcams for Windows.
To get the best picture quality on PCs and Macs, you can also utilize common color video cables like S-Video cables in conjunction with separate RCA stereo audio jacks. However, keep in mind that because of their limited processing capacity, older model computers might not be able to handle 1080p recording. So make sure your machine satisfies all requirements before attempting this method of playback.
Once everything is set up properly, recorders ought to be able to watch their recordings on their monitor in real-time as they play back their tapes, much like people used to do with VCRs. Most cameras come equipped with built-in microphones that may be used to record sound if necessary, making it simple for users who don’t already have expensive external video capture equipment like Canon’s High Definition Camcorders ($400+).
In order to prevent vital data from being lost owing to excessively extended storage periods, delete your recordings from your camera’s memory card as soon as you are finished and have stored them onto an external disc (or internal storage space).
Review your Recording
The last step in recording fantastic footage with your CA 920 camera is to review your recording. Check to see that your computer and software are configured correctly before playing back the tape. If using a laptop, make sure the webcam has a minimum 1080p resolution for playing high-quality videos. Recordings made with standard-definition webcams will be of poorer quality and will not accurately represent what was captured on the CA 920 tape.
When everything is prepared, press the play button on the settings page for your webcam or computer and watch as the video plays back. If your camera doesn’t already have software specifically designed for transferring video from tapes to computers, look into obtaining some compatible video transfer software so you can save and share the snippets you captured!
After reading this manual, readers should have a better idea of how to use their CA 920 camera to play tapes and what tools they need to shoot films with excellent audio and color. It doesn’t matter if they have a Canon or a Logitech model; just be aware that purchasing this kind of recording equipment will require both time and money.
Conclusion
You now understand how to use a CA 920 camera’s tape player. You can quickly set up and record videos with your camera if you have the necessary equipment and follow a few easy steps. This model works well for many kinds of recording purposes, whether you’re using it to stream on Twitch or to document memories during family gatherings. You will be able to consistently capture moments in stunning detail because of the exceptional standard color quality and audio clarity. Moreover, don’t forget that Logitech webcams offer 1080p HD quality and transfer rates that are capable of competing with the newest Windows PCs and laptops. People who utilize a CA 920 camera can relax knowing they’ve selected one of the greatest video cameras available at an unbelievable price, even if not everyone will have access to the same camera type.
FAQs
In 2023, will I be able to still find tapes that work with the CA 920 camera?
In 2023, it will still be feasible to find the tape that works with the CA 920 camera. These tapes could be sold on online marketplaces and specialized shops that sell vintage electronic or photographic equipment.
Make sure you buy the appropriate format, such as VHS-C or Hi8, according to the model of your particular camera.
Can the CA 920 camera be connected to a contemporary TV or monitor for playback?
You may connect the CA 920 camera to a contemporary TV or monitor to view the footage. The TV or monitor’s appropriate inputs can be linked to the camera’s video output ports, which are commonly RCA or S-Video.
To ensure compatibility between the camera’s output and the current display’s input, you might need an adapter or converter.
How can I make the audio on tapes played by the CA 920 camera better?
Ensure that the audio levels are properly set in order to improve audio quality when playing tapes in the CA 920 camera. You can adjust the volume using the specialized audio level settings found on some camera models.
For greater sound quality, think about using the camera’s audio output to connect external speakers or headphones.
What should I do if the tapes I’m playing in the CA 920 camera have playback problems or distorted visuals?
Before doing anything further, examine the tape’s condition if you’re having problems with playback or distorted images. Make sure it is spotless, correctly wound, and damage-free. Additionally, use a head cleaning cassette or specialized cleaning solution to clean the camera’s tape heads.
If issues still exist, refer to the camera’s handbook for troubleshooting advice, or think about hiring a vintage camera specialist for help.
Can I use the CA 920 camera to record new footage on tapes in 2023?
If you have access to appropriate tapes and the CA 920 camera is in functioning order, you can use it to record new footage on tape in 2023.
There are, however, more modern and practical recording solutions available today, and tape-based recording is an outdated technology.
Can I fast-forward the tape during playback?
Yes, you may fast-forward the tape during playback on the majority of cameras, including the CA 920. To change the playback speed, you can use the camera’s controls.
Can the tape’s content be converted to a digital format?
Yes, by connecting the CA 920 camera to a computer, you can convert the content from the tape to a digital format. In this way, the recorded videos can then be saved and edited on your computer.
Why is my camera not recognizing the tape?
Make sure the tape is properly inserted and compatible with the camera if your camera won’t recognize it. Look for any obvious problems or debris that might be interfering with the movement of the tape. Get help from the camera’s user manual if the issue persists.