If given the chance to assess Midjourney, you would have quickly understood that it creates different characters intentionally and doesn’t even need to use its remarkable prompting powers.
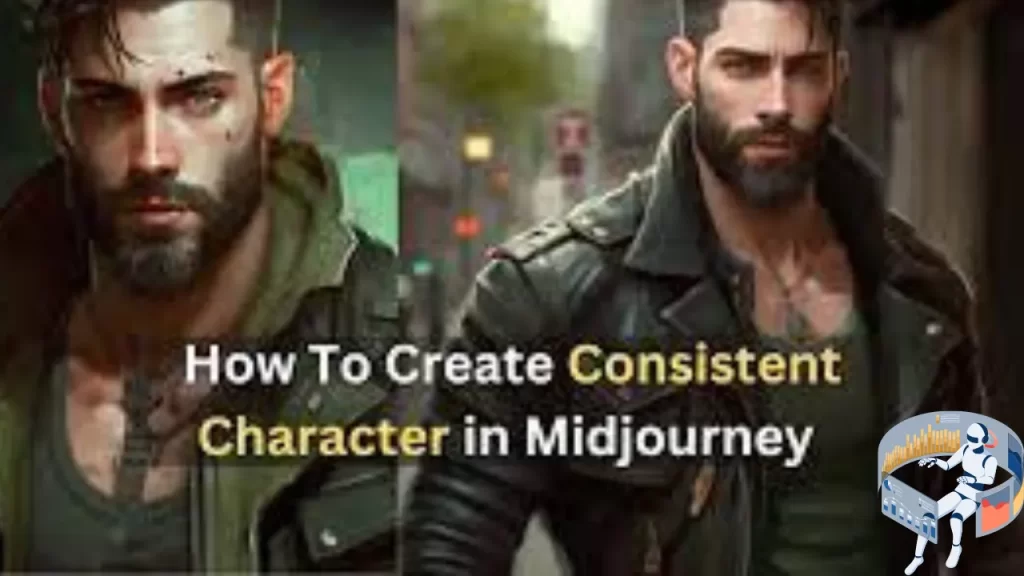
If you’re looking to capture a single image, getting beautiful results is simple. However, it will probably become clear that Midjourney wasn’t created to create consistent characters if your goal is to generate or set up a character that you designed that can be “reusable” in different situations. Repeating the same question will result in 100 different outputs, each with four distinctive visuals that are unique to one another.
So this is a problem. It’s hard to remain consistent when you want to develop a character for something that needs to remain constant throughout, like a comic book, children’s narrative, video game, graphic novel, or advertising campaign. Here in this guide, we will help you get out of this problem in 12 easy steps. So let’s start and learn!
Steps to Generate Consistent Images Using Midjourney
You may find it difficult to maintain the consistency of your graphics in the designs. This gets more complex when you are using generative AI techniques to produce a visual story or a comic book, as in this case with Midjourney.
This is a tried-and-true method for doing that; by following these 12 stages, you might get your desired outcomes:
Step 1: Define the Suitable Character Image on Midjourney
Start by entering the particular character you want to create in Midourney, Try to put forward a similar, simple prompt. For example, mine is “female row character, red hair, -ar 3:2.” Select your favorite image and click “upscale” when the results have appeared.
Step 2: Uploading Your Image
Save the image to your PC after the upgrade is finished, then return to Midjourney. Click “+” to begin uploading the file. In the folder, locate the image, click it, and then press “Enter.”
Step 3: Store the URL and Place It in the /imagine Field
To acquire the image URL, right-click on the image. Proceed to “/imagine” once more in Midjourney. After pasting it, opt for a style and snap on “female row character, full body image -ar 3:2.” Make sure to press “Enter” thereafter and witness the outcome.
Step 4: Enhance Your Image’s Look
Select the image that catches your fancy most and click on “Upscale.” Observe diligently as the results unfurl before you.
Step 5: Evaluate the Photo and gain a Special Identification

This step matters greatly: rate the picture using a heart emoji & pick “Add Reaction,” then reach out for the envelope icon. Scroll down ’til you find yourself face-to-face with a seed number.
It serves as your character’s unique ID imperative for upcoming steps in this process. The command to incorporate this “unique identifier” is -seed.
To give an example, type “Hannah the Wild, Portrait of a Row Character -q 2 -ar 3:2 -seed 123456789”
Step 6: Insert Specific Character Name & Identification
Utilize “/imagine” followed by pasting your specific character name. For instance, let’s say we use “Hannah the Wild, Portrait of a Row Character -q 2 -ar 3:2”. You mustn’t forget to add the important element of “seed number” towards its end. Finally, tap “Enter” and witness output materialize before your eyes.
Step 7 & 8: Enlarge the Graphic
Select the image you like the best, click “Upscale,” and then watch for the outcome.
Repeat the Same Steps From Reverse 5-7 in step 8.
Re-do Step 5, where you rate the image, select the envelope, scroll down to receive the seed number, paste it after your image’s name, and press Enter.
Step 9: Evaluate Your Character Appearance Consistency
To acquire the desired consistent character or avatar, repeat this procedure at least five to seven times using different seed numbers.
Step 10: Enter a New Prompt to Assess Your Character
avatar
Step 11: Upgrade and Look More Closely
When you locate a result you like, click “Upscale” and zoom in to make sure the image is what you were looking for.
Step 12: Observe Keenly the Results

To determine whether the new outcome is compatible with the original image, compare the two. If you are satisfied with the outcome, you now have your reliable persona.
Conclusion
Midjourney is a great tool that can help to illustrate consistent images. It’s not easy and it requires a lot of effort and time and a lot of patience too. But once you get over the initial issue of making what prompts work best to create the characters you want, you can save not only the time it takes to create a children’s book, but also save you the money of having to hire an illustrator.
FAQs
1. How do you combine characters in Midjourney?
Here is a feature in Midjourney named “Pan” feature of Midjourney is a great improvement for outpainting. It allows you to complete a scene or character and even include and combine multiple characters in the same setting! The most important thing is to always activate the “Remix mode” in /settings and then change the prompt after clicking on Pan.
2. What is an example of a prompt in Midjourney?
The prompt can be as simple as “a portrait of a cat” or as complex as “an imaginative landscape with a castle in the jungle, a garden beside it, and a monster flying overhead.” Midjourney will then generate an image based on the prompt.
3. How do you create scenes in Midjourney?
It’s simple to set up a scene in Midjourney. Simply write a prompt that includes both the characters and the scene, and the bot will usually generate the desired image for you reliably. Prompting the above, for example, will generate a picture of a family enjoying a meal together in a crowded restaurant.


